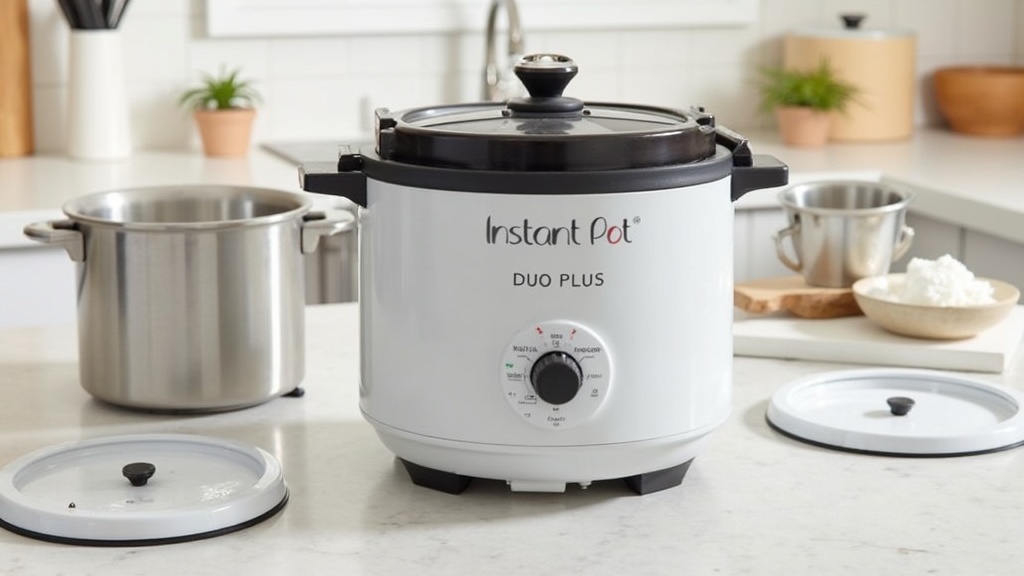
 If you love making hearty soups and stews in your Instant Pot Duo Plus, you know how quick and easy cleanup usually feels. But sometimes, thick sauces, bits of meat, or starchy water leave behind more residue than you might expect. I’ve found that every few uses, especially after richer recipes, a deep clean makes a real difference for taste and kitchen freshness. Here’s my step-by-step process for making sure my Instant Pot stays spotless, works like new, and always smells clean.
If you’re looking for more cozy kitchen ideas, check out our fall kitchen roundup; see the full list here for more must-haves!
Why Deep Cleaning Matters After Cooking Soups and Stews
Soups and stews can be heavy on spices, fats, and starch. After a big batch of chili or a cheesy soup, I notice the silicone sealing ring can pick up strong smells. Sometimes, a light layer of food builds up around the lid or on the pot itself. These odors and residues can mix into future meals or just make cleanup tougher later on. Deep cleaning clears out any stubborn gunk and keeps everything working well.
Consistent deep cleaning extends the life of your Instant Pot. Built-up food can interfere with pressurization or give future meals odd flavors. If you make thick, hearty recipes regularly—think beef stew, curry, or creamy chowder—a thorough clean fights both grime and those tough, lingering odors that sometimes stick around even after a standard wash.
Gather Everything You’ll Need
To get started, I gather the following supplies:
- Dish soap and warm water
- Baking soda
- White vinegar
- A soft sponge or nonabrasive scrubber
- A toothbrush or small cleaning brush
- Microfiber towel for drying
It’s super important to make sure the Instant Pot is unplugged and completely cool before taking it apart. Don’t forget to have a good spot ready for air drying, as letting the parts dry fully helps prevent musty smells.
Step-by-Step Deep Cleaning Guide
1. Separate and Prewash Removable Parts
I always start by removing the stainless-steel inner pot, silicone sealing ring, antoblock shield, steam release valve, and float valve. Separate the steam rack or any other accessories as well. I rinse off the bulk of soup or stew residue from each piece and let them soak in warm, soapy water for about 10 minutes.
2. Cleaning the Inner Pot
For tough, stuck-on food, I sprinkle a layer of baking soda across the bottom of the pot and add a splash of vinegar. This combo bubbles up and loosens grime with zero scrubbing. After a few minutes, I scrub gently using a nonabrasive sponge, rinse, and dry. If stains remain, boiling a mix of water and vinegar (about 1 cup each) inside the pot for 5 minutes helps loosen them too.
If there are any discolorations from tomatoes or beans, making a paste of baking soda and water, then letting it sit on the spot for ten minutes, often does the trick. Remember to rinse well so you don’t taste the baking soda in your next meal.
3. Washing the Lid and Silicone Sealing Ring
The lid and sealing ring can hold onto food smells, especially after a stew with garlic or steak. I remove the silicone ring carefully and run it under very hot water and dish soap. Sometimes I soak it in a bowl with a little vinegar to help lift out deep smells. I scrub inside all grooves of the Instant Pot lid and pay attention to the areas around the float valve and antoblock shield. For extra cleaning, I use a toothbrush in crevices before rinsing and wiping dry.
Don’t rush the drying process; hanging up the silicone ring or placing it standing up helps air circulate and keeps it fresher longer.
4. Cleaning the Lid’s Small Parts
- Antoblock Shield: This small metal cap pops off from the underside of the lid with a gentle push. I scrub it with soapy water and rinse.
- Steam Release & Float Valve: These pop out easily for cleaning. I rinse and brush off any food bits, then pat dry before putting them back.
When drying, I always let the silicone ring air dry separately as this helps keep lingering odors from absorbing back in.
5. Wiping Down the Exterior and Cooker Base
The base of the Instant Pot (the electrical part) can’t be submerged. I wipe it down using a soft, just-damp cloth, focusing on the rim where the lid sits and under the edges. It’s easy for food or condensation to gather there, so I make sure I check for any buildup. For sticky spots, a bit of diluted vinegar on the towel helps, but steer clear of the electrical plug area.
If crumbs or gunk sneak into the heating element, a dry toothbrush can gently flick them out.
Troubleshooting: Tackling Lingering Odors or Stains
If I notice my next meal tastes a bit off or the sealing ring has a stubborn smell, I try these tricks:
- Soak the silicone ring in a 50/50 mix of vinegar and water for 30 minutes, then air dry completely.
- Place the clean, dry ring in direct sunlight for a few hours to help neutralize strong food odors.
- For persistent stains in the steel pot, I scrub gently with a paste made of baking soda and a little water, then rinse well.
If your ring still smells after cleaning, consider getting a second one and using separate rings for savory and sweet dishes. Some home chefs even keep three, swapping them out depending on the meal—curries, desserts, or neutral broths.
Quick Maintenance Tips for Everyday Use
- Hand wash the lid, silicone ring, and antoblock shield after each use to avoid food buildup.
- Wipe the outer rim with a damp towel after making stews or thick soups, since spill over can sneak into small spaces.
- Leave the lid off the Instant Pot when storing it; this helps air it out and prevents musty smells.
- Run the inner pot and sealing ring through the dishwasher for regular upkeep, but hand washing gets deeper results.
- Do a vinegar steam clean every month by adding a cup of vinegar and water to the inner pot and running a short steam cycle with the sealing ring and lid in place.
Consistent cleaning is a small step that keeps every meal tasting fresh and stops lingering smells from ruining future dishes. I try to set aside time for a full deep clean with these steps every five to ten uses, especially after rich or sticky foods. The more often you cook, the more often you should do this deep cleaning process; it sweeps away hidden buildup and keeps your pot in peak flavor shape.
Frequently Asked Questions: Instant Pot Deep Cleaning
What happens if I skip deep cleaning?
I’ve found that skipping deep cleaning can leave old flavors in the sealing ring or pot. Over time, the vent or float valve can get clogged by food bits, affecting pressure and safety. It’s always easier to clean before grime builds up. Regular maintenance also keeps your Instant Pot running smoothly, so you can trust it to work every time.
Can I put the lid and inner pot in the dishwasher?
Yes, the stainless-steel pot and lid are dishwasher safe. The silicone ring can also go on the top rack. I recommend hand washing small lid parts so they don’t get lost. Dishwasher cleaning is a solid backup, but a quick hand scrub now and then gives better results for stuck-on foods.
What if my Instant Pot still smells after washing?
Try repeating the vinegar soak for the sealing ring or leaving it in sunlight. For the pot, boiling water and vinegar often lifts both stains and smells. If issues are persistent, replacing the ring is a practical fix. You can also try layering fresh lemons or baking soda inside the clean, empty pot and letting it sit overnight to absorb remaining odors.
How often should I do a deep clean versus a regular rinse?
A regular rinse after every use is great, but a deep clean every five to ten uses is perfect if you make lots of stews, beans, or tomato sauces. If you notice strong smells or discoloration, add an extra deep clean session.
Next Steps: Keep Your Instant Pot Ready for Anything
Giving the Instant Pot Duo Plus a careful deep clean makes rich soups taste clearer; future meals will smell and taste their best. Keeping up with regular cleaning prevents buildup and keeps this kitchen gadget in top shape for years. I include deep cleaning into my kitchen routine, especially after cooking big batches of chili, chowder, or any tomato-based recipes.
Your Cleaning Checklist:
- Unplug and cool the Instant Pot completely before cleaning.
- Remove all removable parts and soak in warm, soapy water.
- Scrub the pot, lid, and seal to clear away food and odors.
- Pay extra attention to small lid parts and the outer rim.
- Let everything dry completely before reassembling and storing with the lid off.
Clean early and often to make each meal taste fresh. Your Instant Pot will stay a kitchen favorite for all kinds of recipes. For even more kitchen ideas, check out our cozy fall kitchen roundup for essentials that make meal prep more enjoyable and hassle free. Happy cooking!